# Auth0
This page documents configuring an Auth0 (opens new window) Web Application and Machine to Machine Application for Pomerium to read user data. It assumes you have already installed Pomerium.
WARNING
While we do our best to keep our documentation up to date, changes to third-party systems are outside our control. Refer to Applications in Auth0 (opens new window) from Auth0's docs as needed, or let us know (opens new window) if we need to re-visit this page.
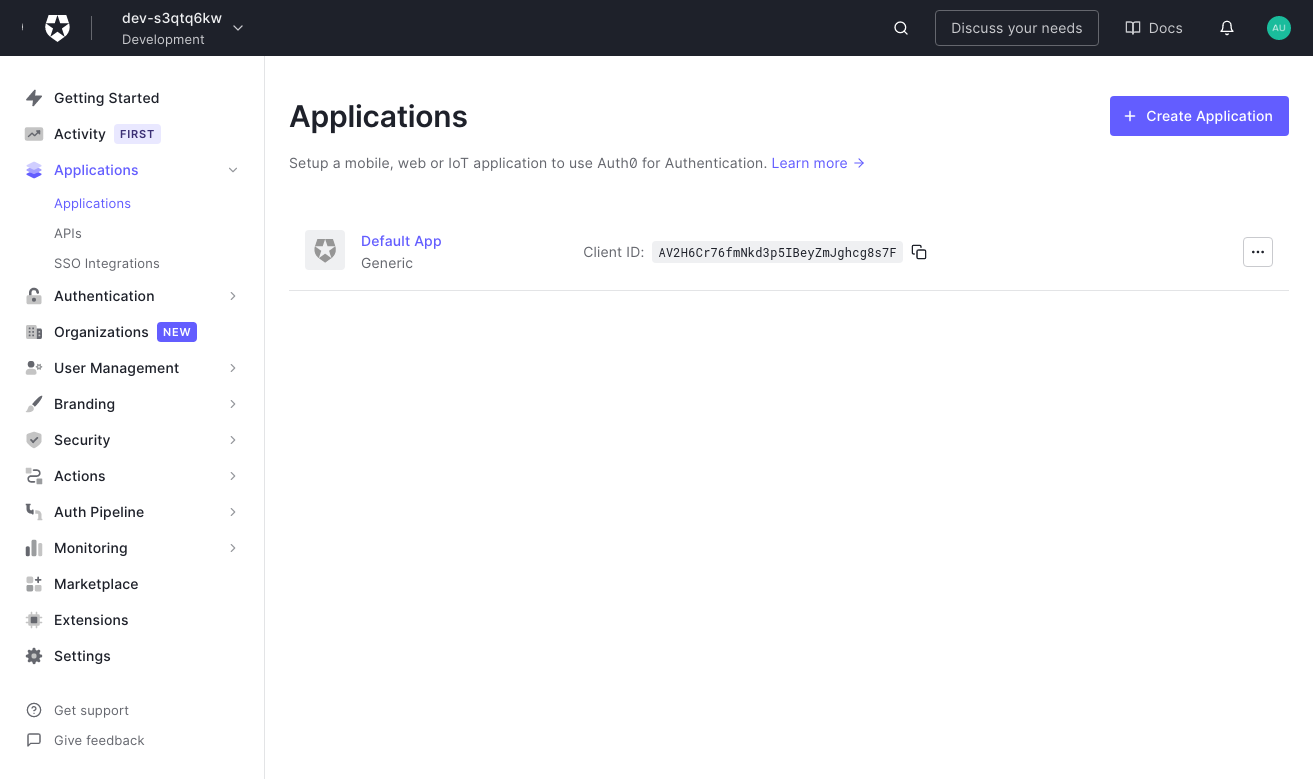
Log in to your Auth0 account (opens new window) and head to your dashboard. Select Applications → Applications on the left menu. On the Applications page, click the Create Application button to create a new app.
# Create Regular Web Application
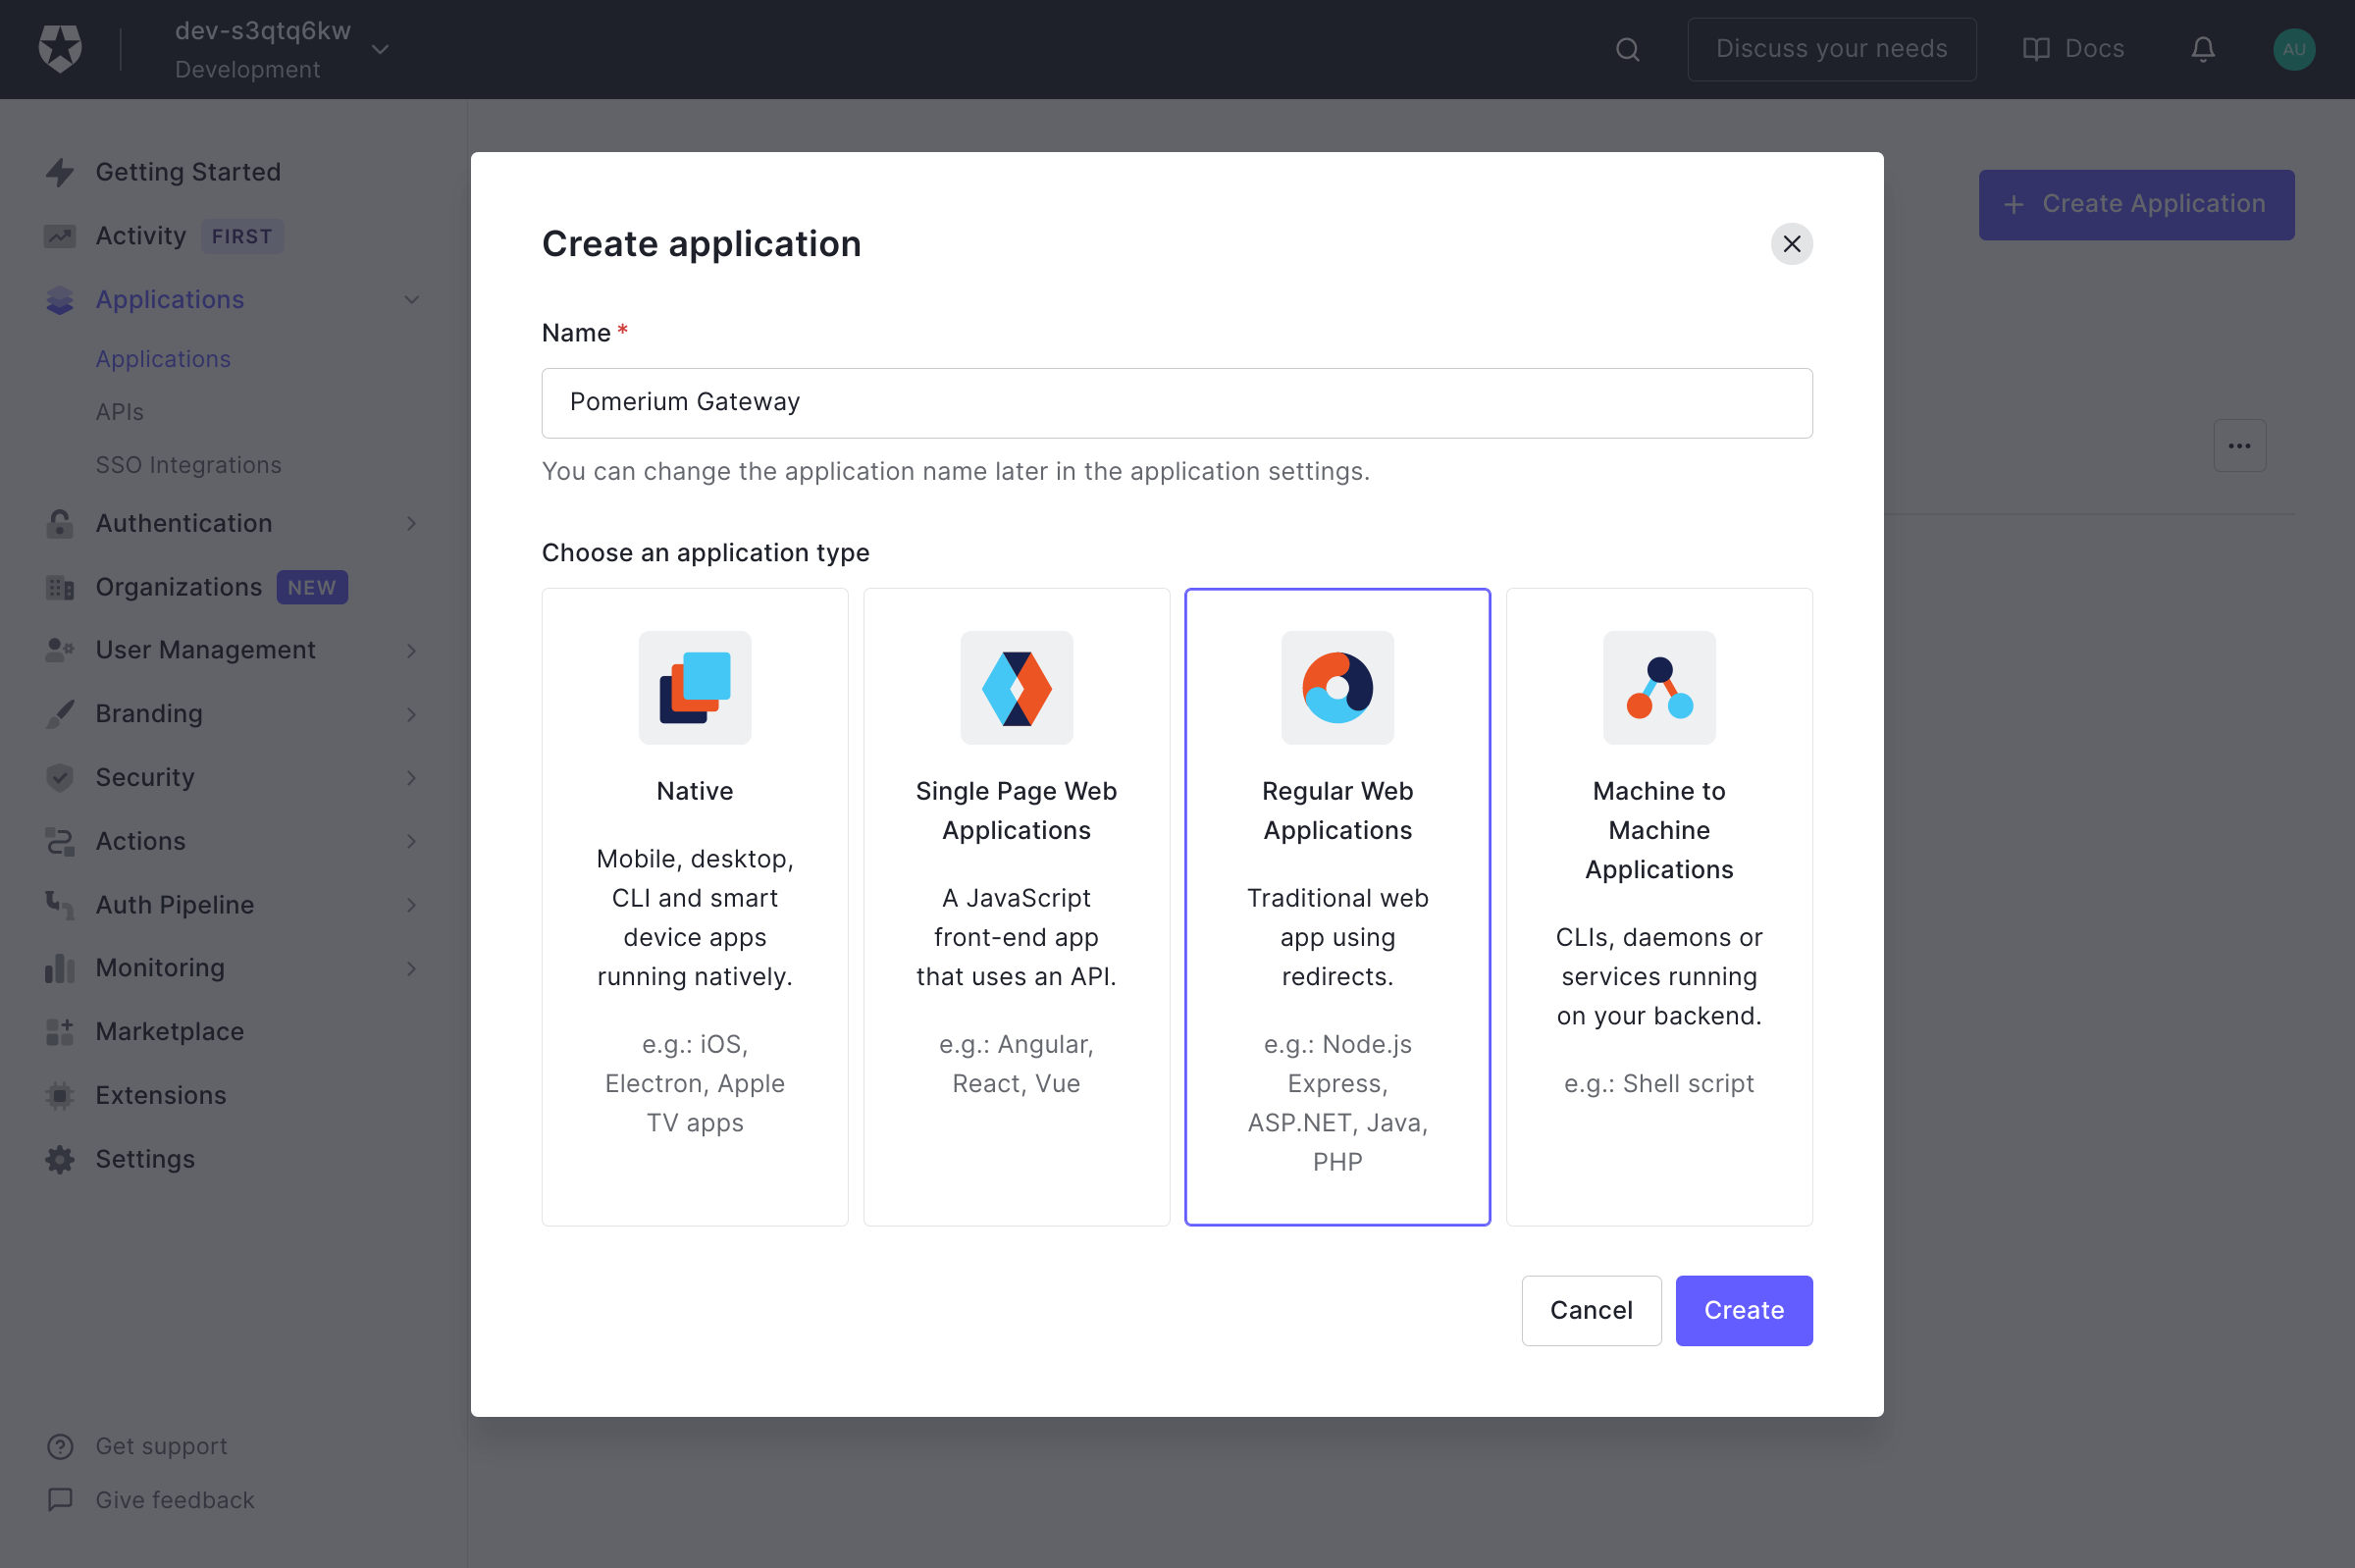
On the Create New Application page, name your application and select the Regular Web Application for your application. This is the application that your users will login to.
Under the Settings tab, note the Domain, Client ID, and Client Secret values. We'll provide these to Pomerium at the end of the process.
Provide the following information for your application settings:
Field Description Name The name of your application. Application Login URI Authenticate Service URL (e.g. https://${authenticate_service_url})Allowed Callback URLs Redirect URL (e.g. https://${authenticate_service_url}/oauth2/callback).Make sure to click Save Changes at the bottom of the page when you're done.
# Service Account
Next, we'll create an application to handle machine-to-machine communication from Pomerium to Auth0 in order to retrieve and establish group membership.
TIP
Auth0 refers to groups as roles.
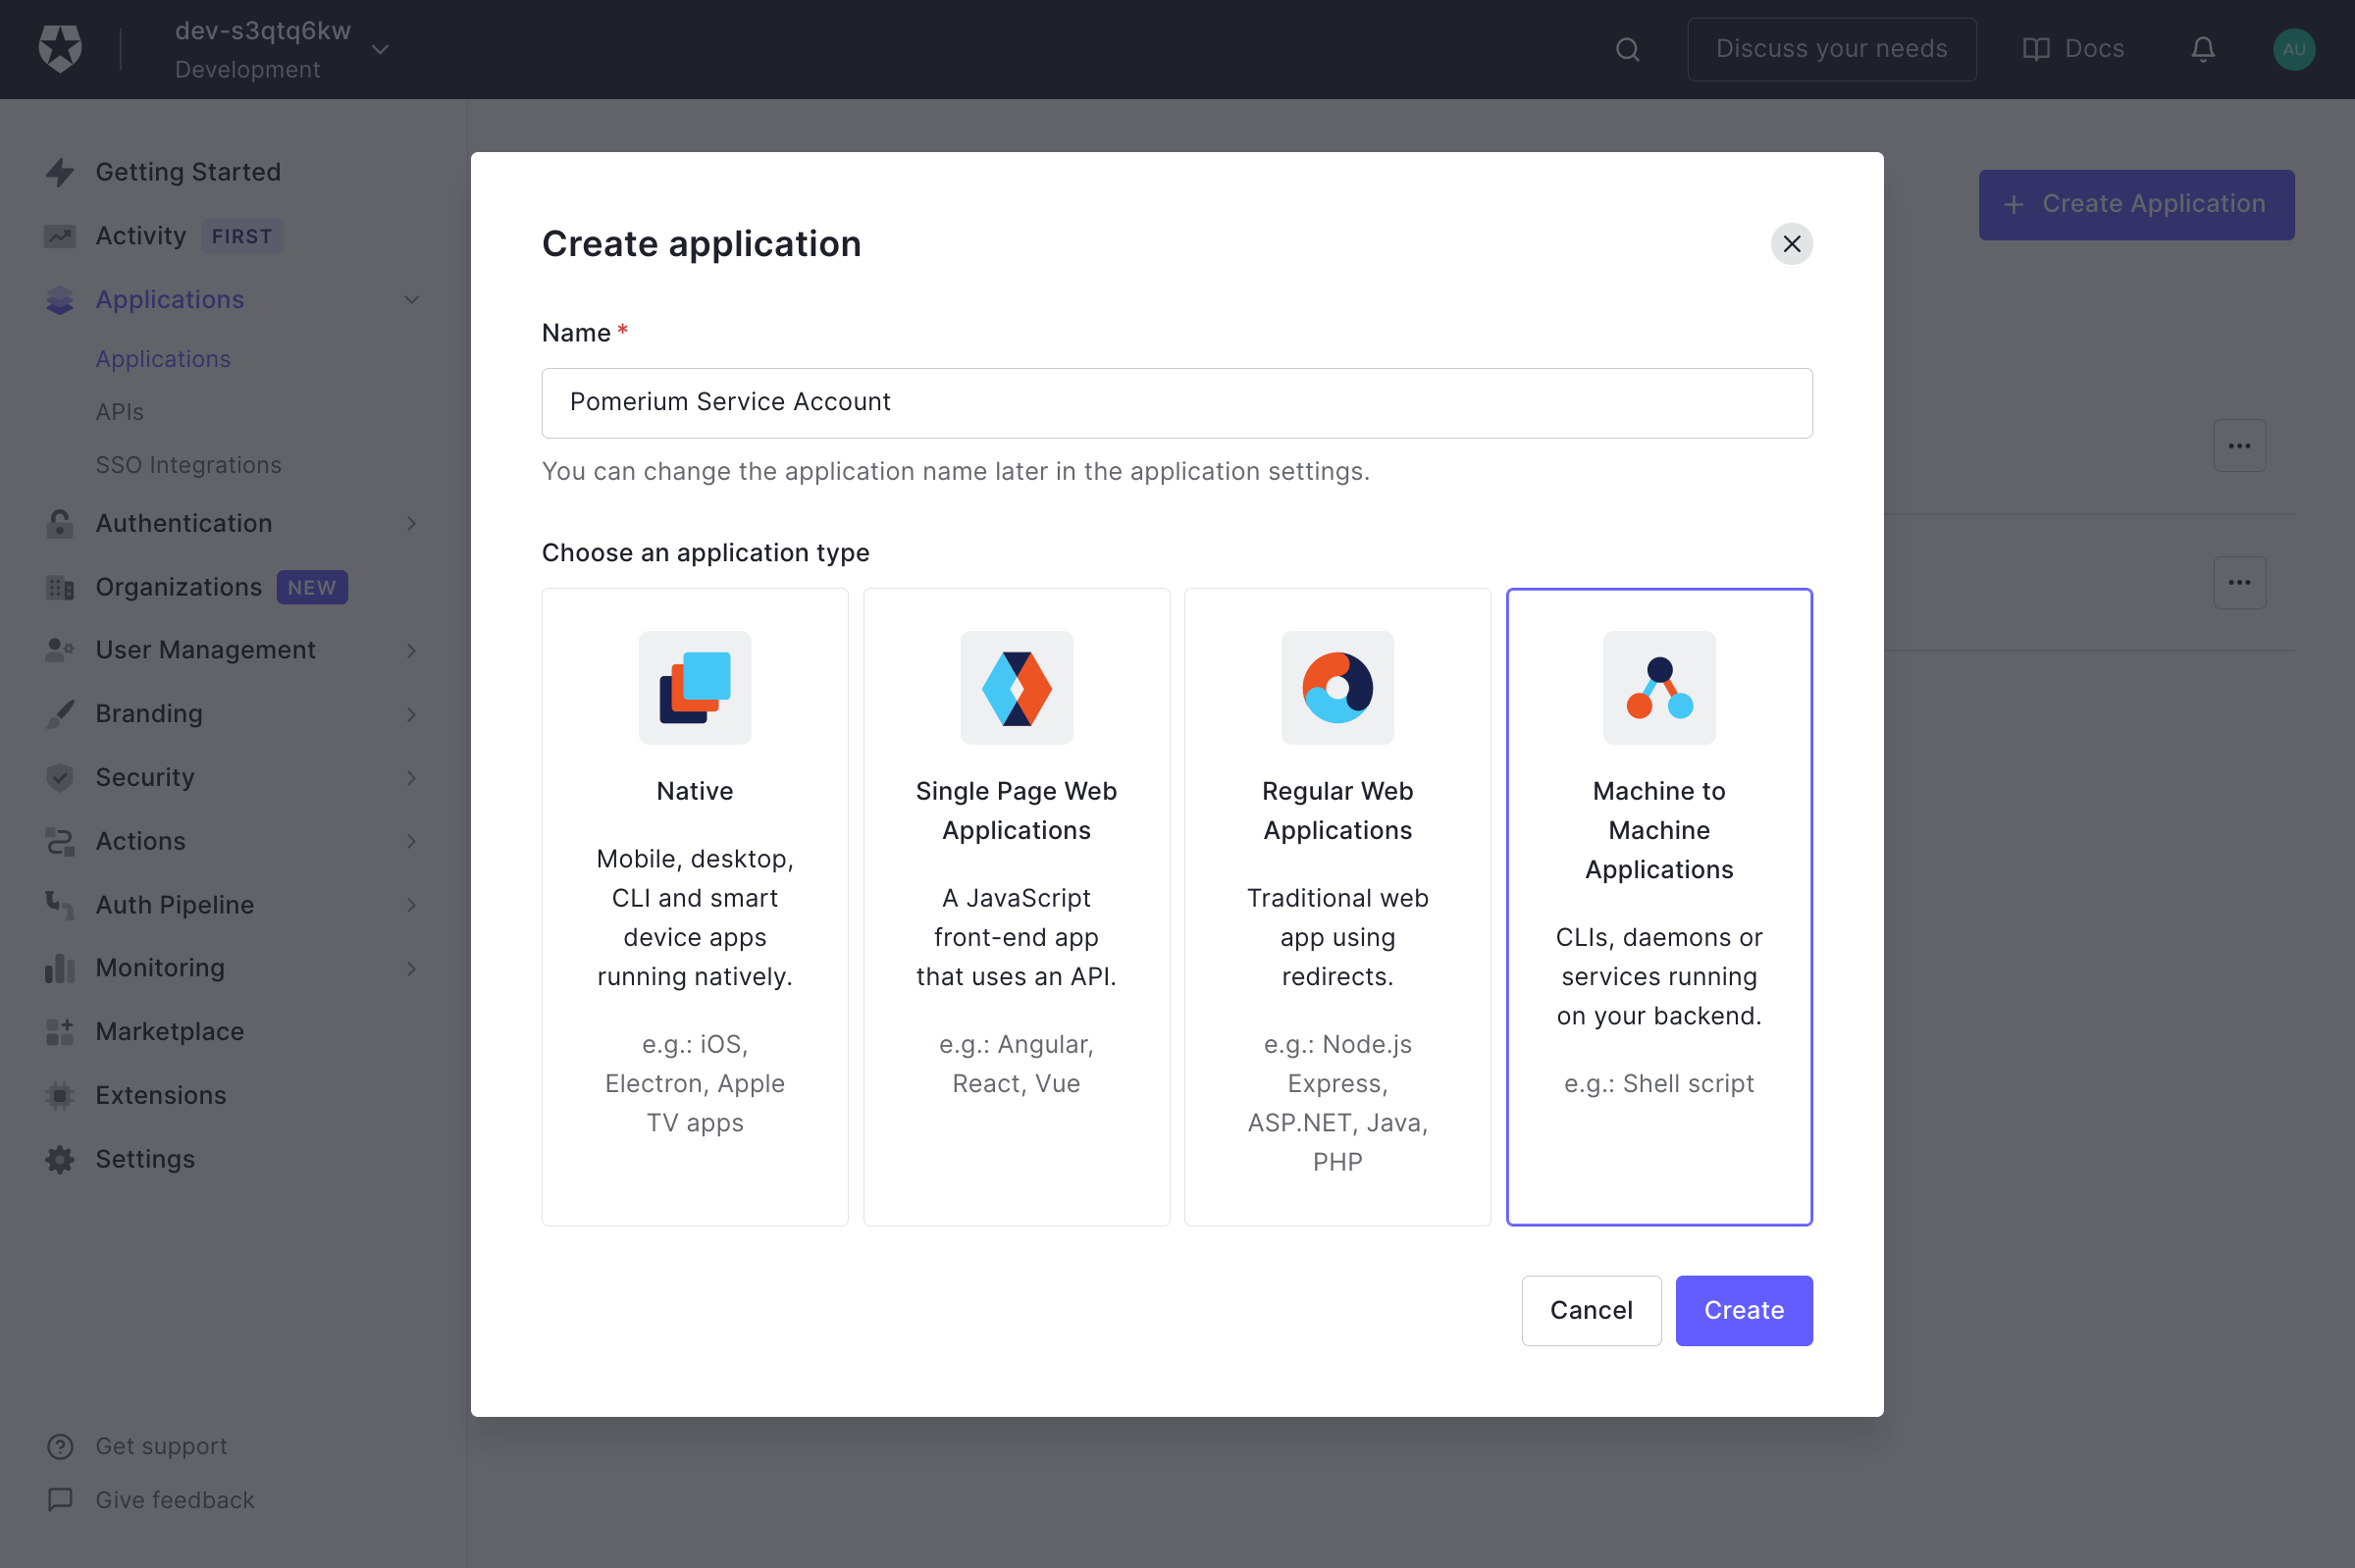
Repeat the process in step 1 above to create a new application, but this time select Machine to Machine Application. A different application is used for grabbing roles to keep things more secure.
Click Create.
On the next page select Auth0 Management API from the dropdown. Under Permissions use the filter on the right to narrow things down to
role, and choose theread:rolesandread:role_membersroles.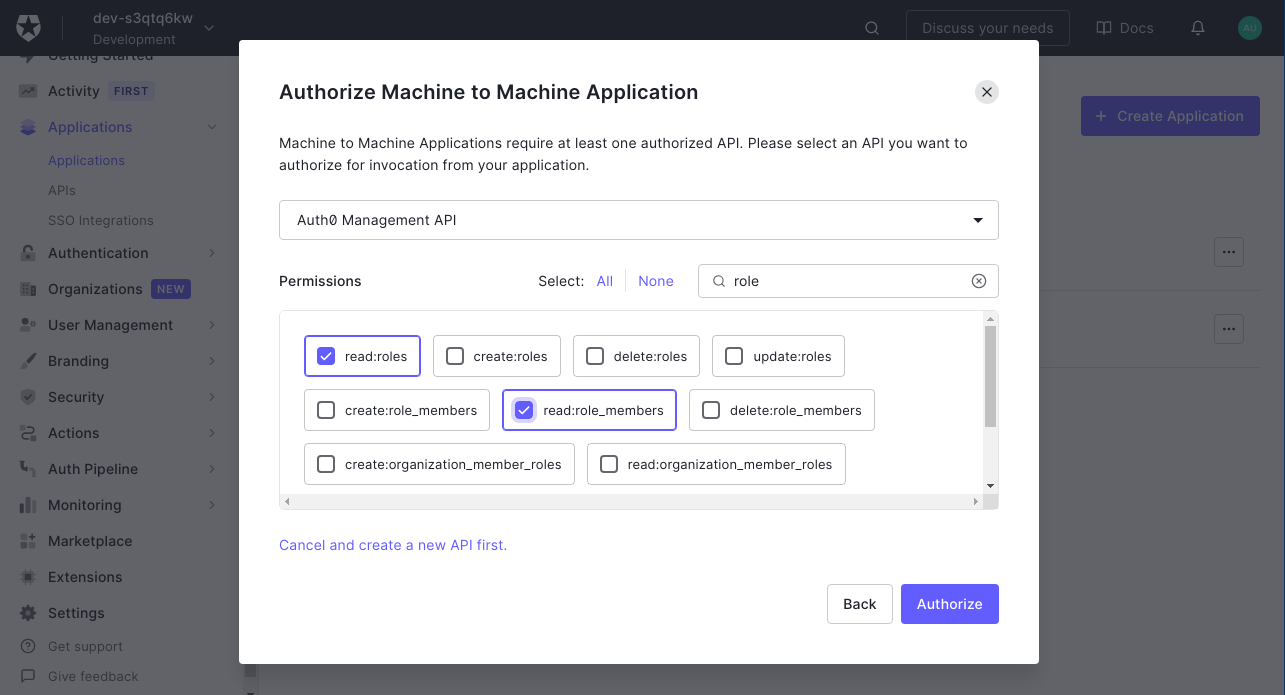
Then click Authorize.
Just like the previous step, retrieve the Client ID and Client Secret from the Settings tab. To build the
idp_service_accountvalue for Pomerium's configuration, you must base64-encode a JSON document containing the Client ID and Client Secret of the application:{ "client_id": "...", "secret": "..." }If you save this JSON document as a temporary file, you can encode it like this:
cat json.tmp | base64 -w 0
# Configure Pomerium
You can now configure Pomerium with the identity provider settings retrieved in the previous steps. Your config.yaml keys or environmental variables (opens new window) should look something like this.