# Okta
This page covers configuring Okta to communicate with Pomerium. It assumes you have already installed Pomerium before you begin.
WARNING
While we do our best to keep our documentation up to date, changes to third-party systems are outside our control. Refer to Create an Okta app Integration (opens new window) from Okta's developer docs as needed, or let us know (opens new window) if we need to re-visit this page.
# Create OpenID Connect Application
Log in to your Okta account (opens new window) From the left-hand menu, Select Applications → Applications on the top menu.
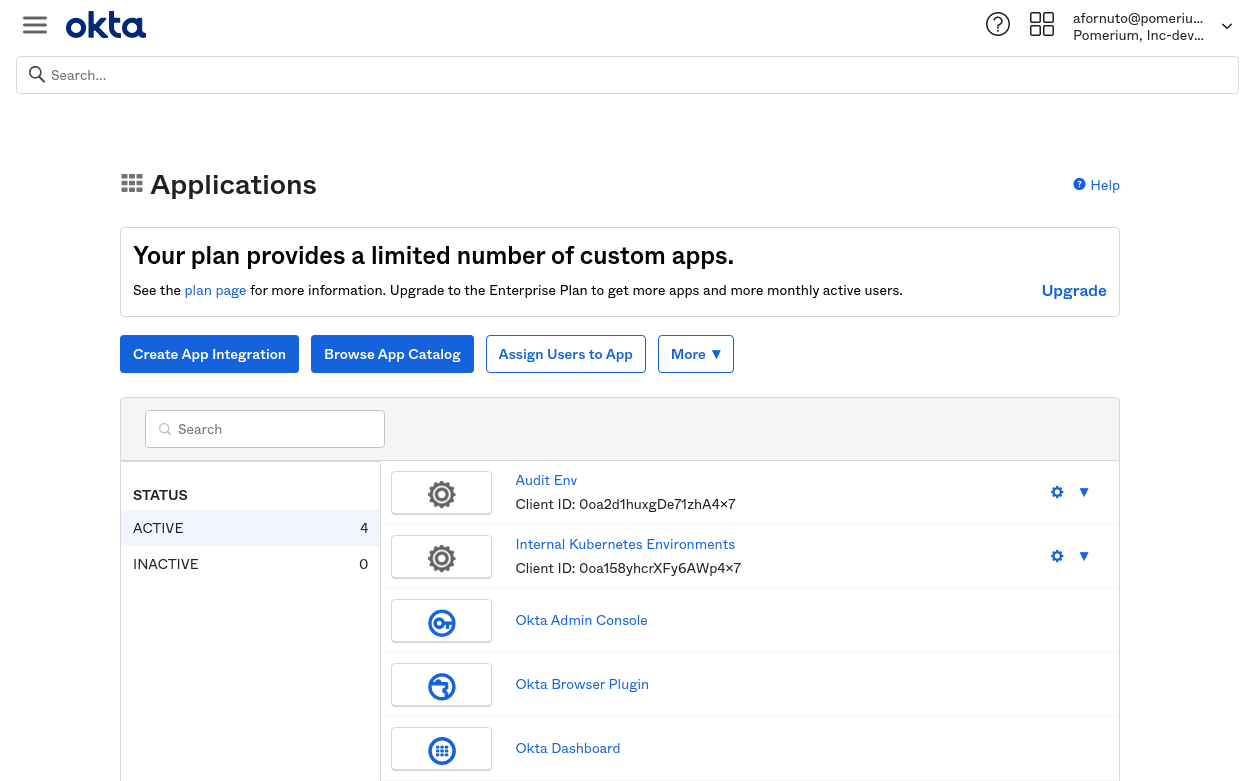
Click the Create App Integration button. Select OIDC as the sign-in method. and Web Application as the application type:
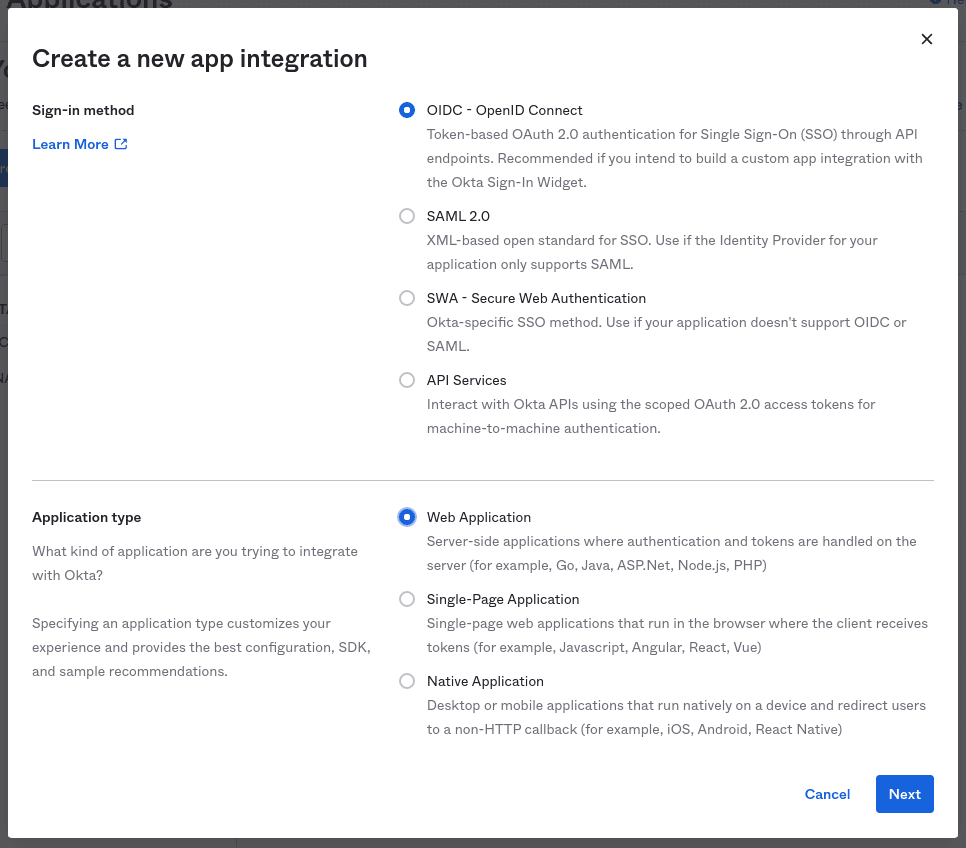
Click Next to continue.
Provide the following information for your application settings:
Field Description Name The name of your application. Grant type allowed You must enable Refresh Token. Base URIs Optional: The domain(s) of your application. Sign-in redirect URIs Redirect URL (e.g. https://${authenticate_service_url}/oauth2/callback).Controlled Access The user groups that can sign in to this application. See Group ID (opens new window) for more information. 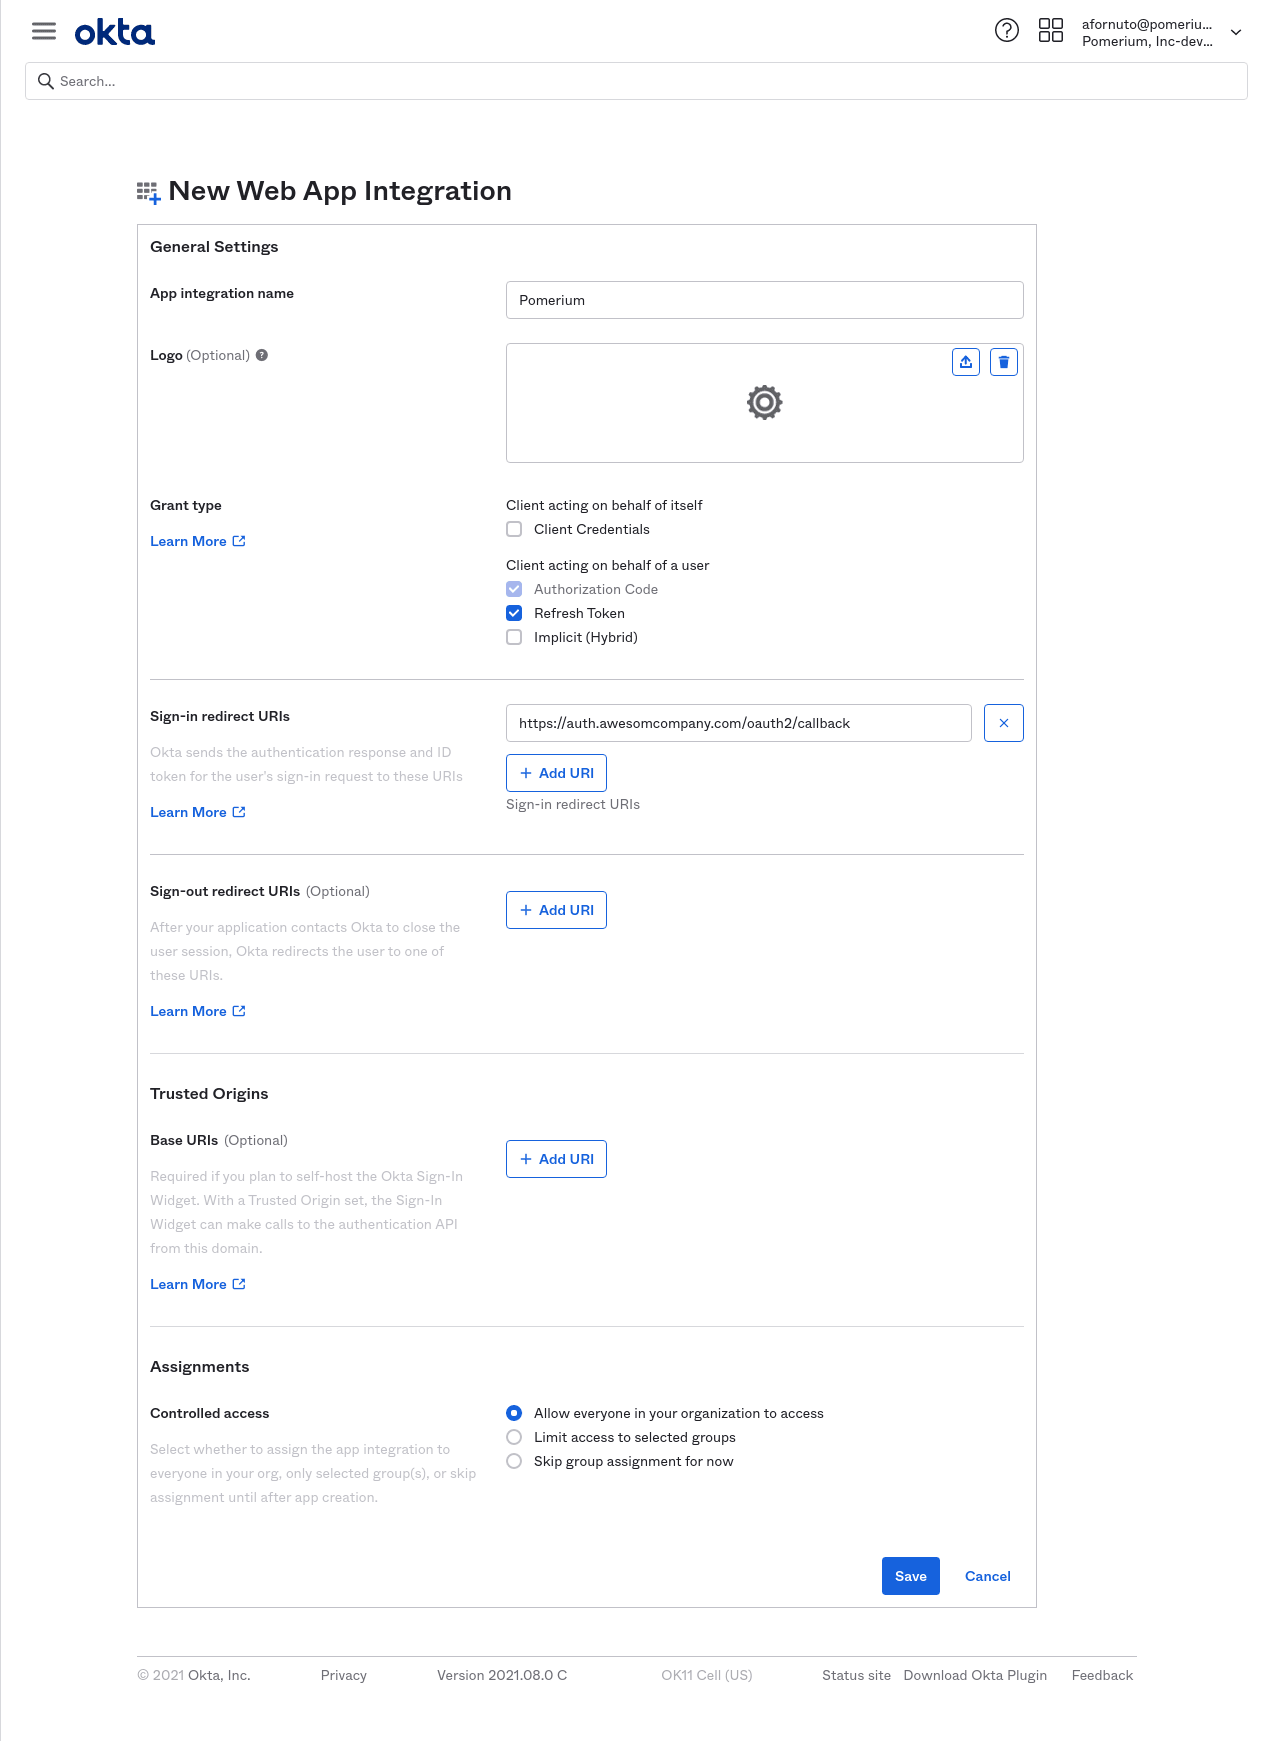
Click Save to proceed. You'll be taken to the General tab of your app.
From the General tab, scroll down to the Client Credentials section. This section contains the Client ID and Client Secret. Temporarily save these values to apply to the Pomerium configuration.

# Create Service account
Next, we'll create API token so that Pomerium can retrieve and establish group membership.
From the main menu, navigate to Security → API. Select the Tokens tab, and click the Create Token button. Name the token, then save the value to apply to our Pomerium configuration:
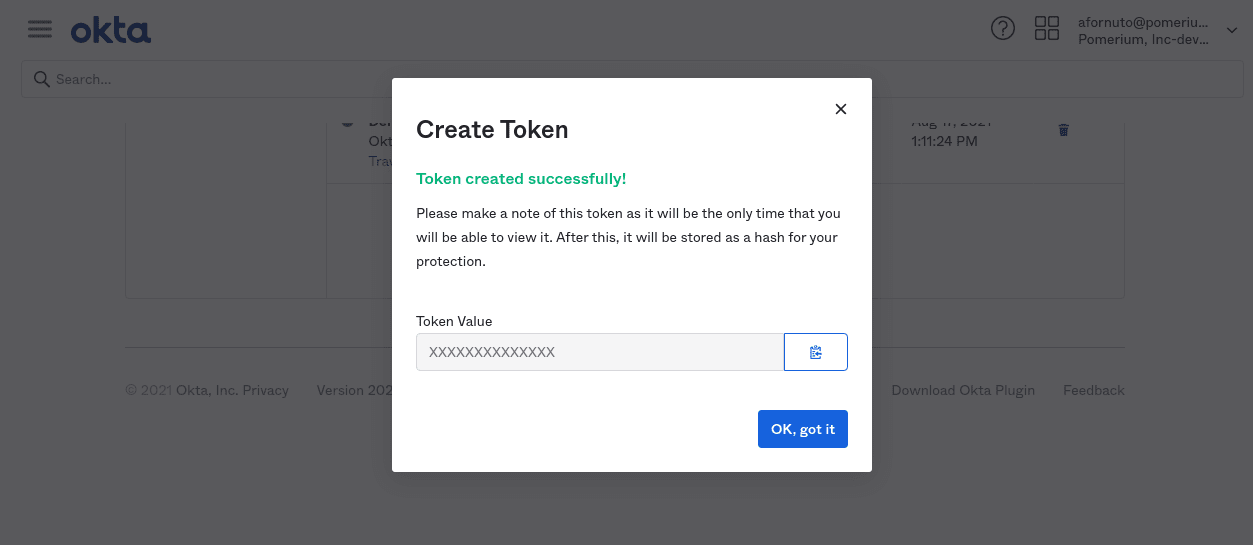
The API token will be provided as the value of the
idp_service_accountkey, formatted as a base64-encoded JSON document::{ "api_key": "XXXXXXXXXX" }You can save the object as a temporary file to encode:
cat tmp.json | base64 -w 0
# Configure Pomerium
Finally, configure Pomerium with the identity provider settings retrieved in the previous steps. Your environmental variables (opens new window) should look something like this.